Tools for Fashion Drawing

Get Started with Fashion Drawing
FREE BOOTCAMP
So, you want to become a fashion designer and/or fashion illustrator, and you want to communicate your ideas clearly + beautifully, right?
Well, in this lesson, I’ll show you the essential tools to use for fashion drawing, so you can start learning + practicing + growing your skills right away.
If you want to go back to the main page of this free video series, go here. Or if you haven’t signed up to this FREE bootcam, button the link below:
You can watch the video or read the lesson, whatever is best for you 😉
To start learning fashion drawing, you don’t need any special, super expensive, out of the world tools.
Actually, you only need a few things, and you can get started to learn and practice after one visit to the art supplies shop.
Sometimes it’s easy to fall into the trap of “well, when I get these tools, or these pencils, or these colors, or the dream studio, then I’ll start learning, or I’ll begin creating my designs or my illustrations”, but wouldn’t it be easier to just get started with what you already have? Or wouldn’t it be better if you started to learn, practice, and create from now so your skills and talents grow with time?
Of course, it would be easier and better, right?!
Okay, great, so let’s see the essential tools that you need to start learning and practicing your fashion drawing skills:
essential tools for fashion drawing
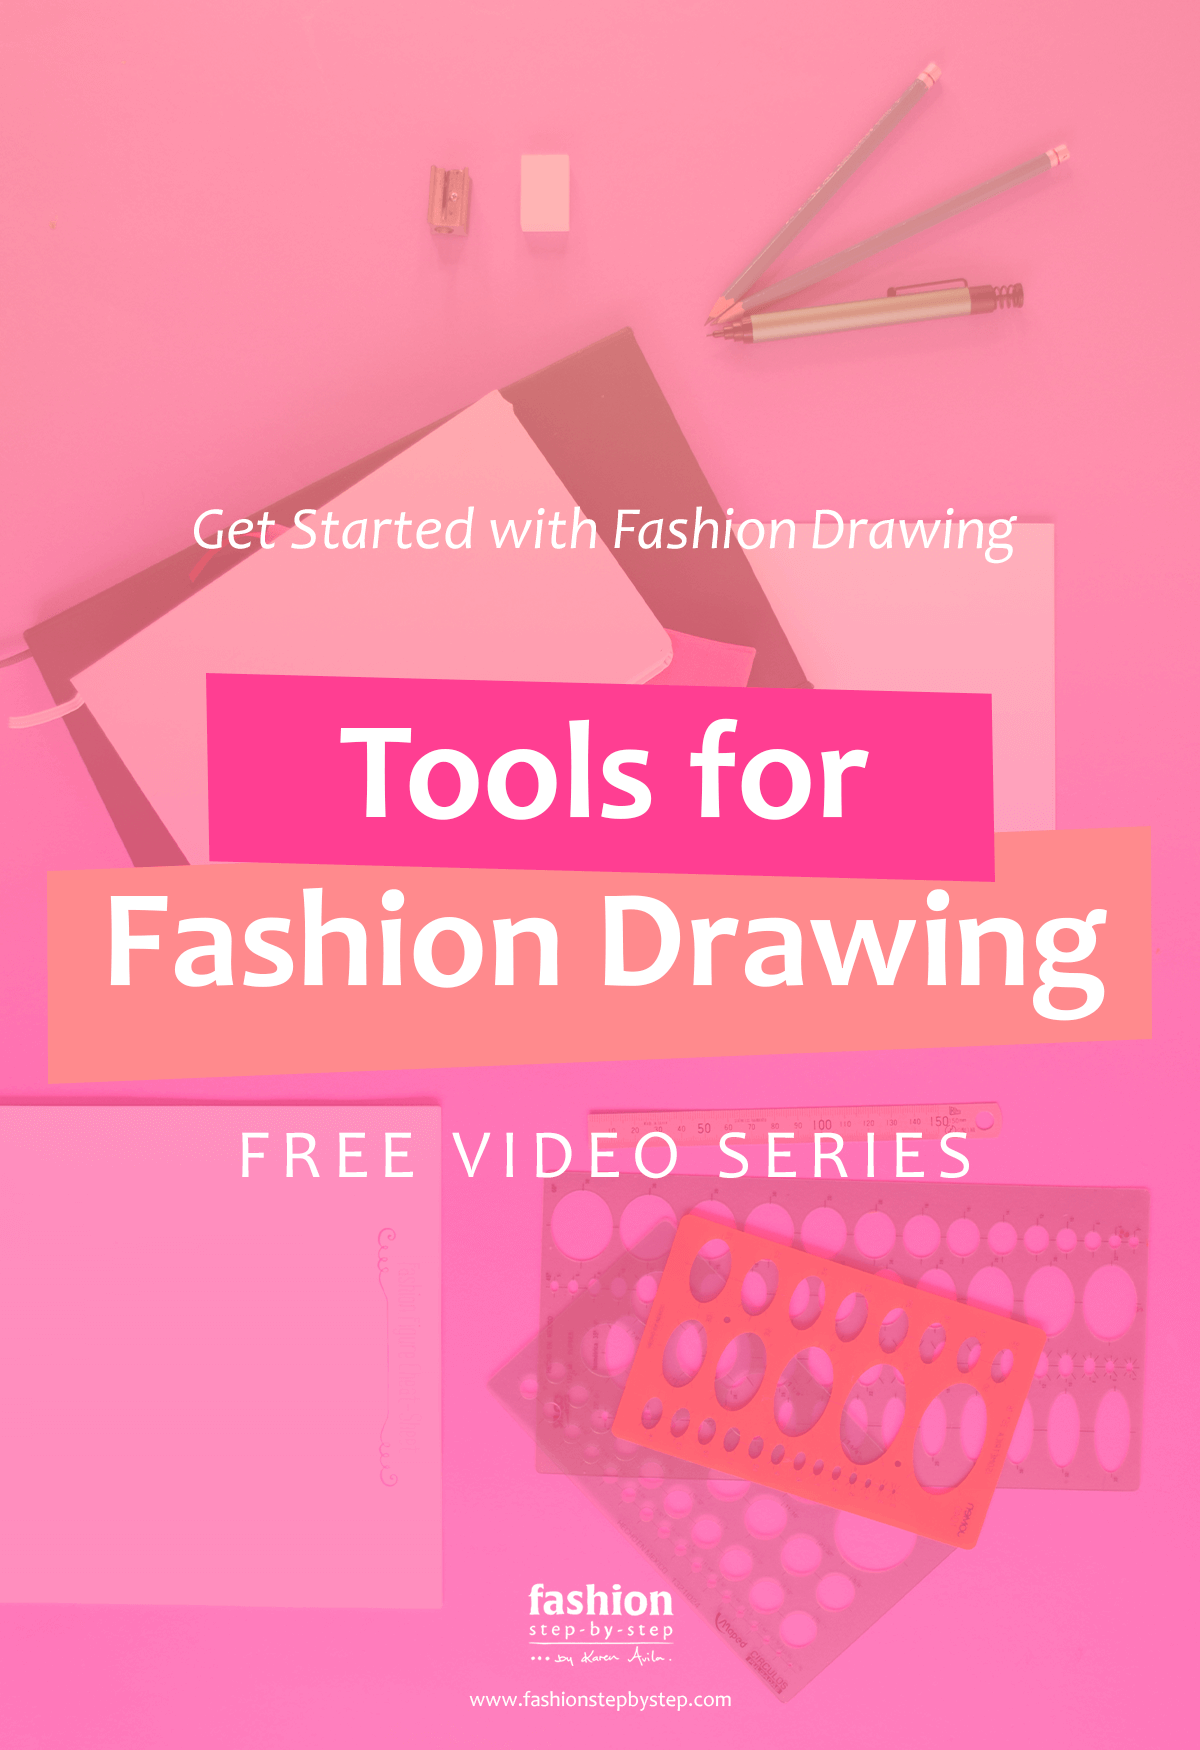
Pencil or mechanical pencil
My favorite pencil to work with is 2H because it’s not too hard nor too soft, and it’s not as messy as those pencils on the B spectrum.
Remember the H in a pencil stands for Hard, and the bigger the number, the harder the pencil and the cleaner the lines. And the B stands for soft black, and the bigger the number, the softer and darker the pencil.
I also love working with mechanical pencils because the lines are finer than the pencil’s and I don’t need to use a sharpener, so I can draw and draw non-stop.
If you want, you can try with both, a regular pencil and a mechanical pencil. Neither of them has to be expensive. My pencils usually cost less and one buck, and the mechanical pencil I’m using cost no more than two bucks. I tend to lose my pencils all the time, so I don’t invest quite a lot in them, but I also love how they work.
Eraser and sharpener
When you buy your erasers, make sure they’re soft and kind with your work. You don’t want your eraser to stain or damage your drawings, so make sure you pick the right eraser.
I love purchasing erasers in bulk because as with pencils l tend to lose them all the time 😛
For sharpeners, I prefer the metal ones. And this one with two holes is just perfect. One hole is to sharpen the pencils and the other one for the color pencils.
Paper. Loose sheets of paper or a notebook
Okay, you have your pencils, your eraser, and your sharpener ready, now you need a place where to put your ideas on.
For this, you can get a notebook, or you can even work with loose sheets of paper and then put them in a binder.
Especially at the beginning that you’ll need to practice a lot, I’d recommend purchasing a pack of bond paper in letter size and a binder. Then, start learning, draw, practice, make some mistakes, observe and improve, and tweak and repeat. Make sure you keep your best work in the binder. And when you feel more confident in your drawing skills, then get a notebook and put all your designs, ideas, and illustrations there.
You can optionally use ruler and templates for circles and ovals
These tools are amazing for beginners; they help you create clean + perfect lines + circles + ovals for your figures and faces. And I totally recommend them when you’re just starting out, although sometimes I still use them when I want a neat drawing.
The ruler will help you create a preliminary line skeleton for your fashion figures before you draw the actual body and put garments on it.
Then you can determine where the joints like knees, shoulders, elbows, and ankles will be with the circle’s templates.
And you can use the ovals templates to draw the head of your figures.
All the ruler, and the circles + ovals templates are here to help you with that shaky hand. But, I definitely recommend you to follow the drawing exercises from a previous lesson and video, so you keep getting better.
Workbook and cheat-sheets
If you’re totally new to fashion drawing and especially to drawing fashion figures and faces, then the workbook and cheat-sheets from my course Drawing Fashion Figures + Faces will be super helpful for you because I created them specifically for beginners to train their eyes + hand + brain to create beautiful and proportionate figures and faces.
These are a shortcut to help you improve your skills faster, and you only need to print the cheat-sheets and draw over them. Or use the cheat-sheet under a sheet of paper, and draw following the step-by-step from the course + workbook.
As you can see, you don’t have to wait until you have all the tools, nor the most expensive materials or the biggest studio. You can start learning + practicing from now with as little as paper and a pencil.
So, grab your materials and stay tuned because during the next lesson we’ll be doing some preliminary exercises 😀

Great, before you go, and if you haven’t signed up for my FREE ‘Get Started with Fashion Drawing’ Bootcamp yet…
I want to invite you to go + do it now! This is a jammed packed FREE resource for you if you’re new to fashion drawing and drawing fashion figures, sign up through the button below!
Now tell me in the comments all your questions about drawing fashion figures and faces 🙂
With so much LOVE!!
![]()
